
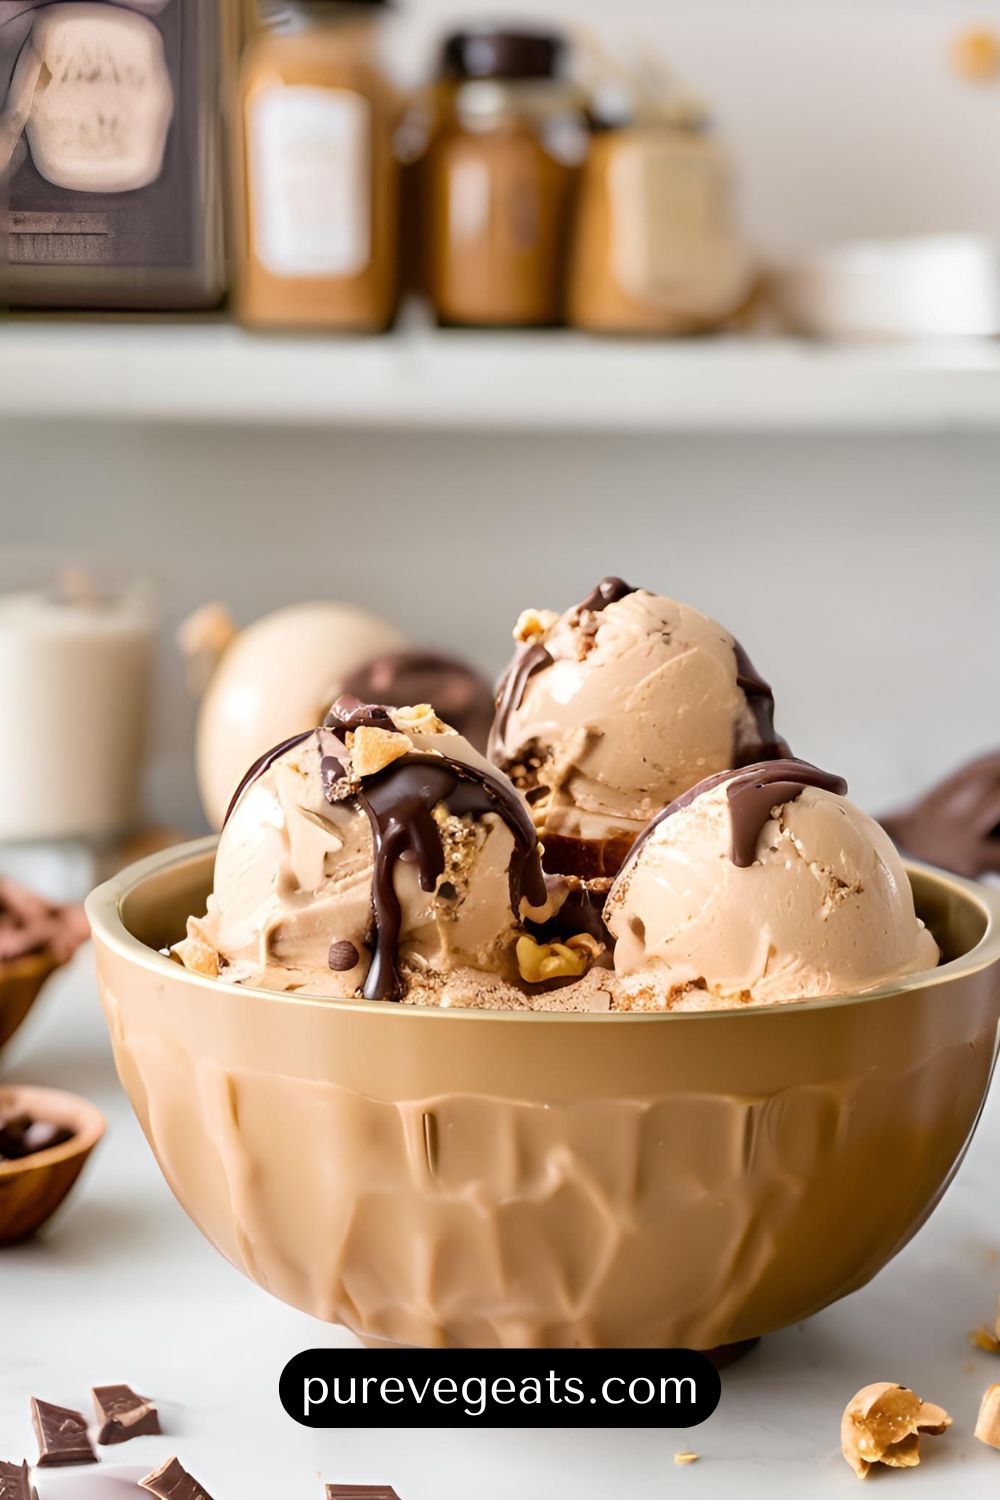
Are you a peanut butter lover looking to cool down with a delicious treat? Look no further! This Peanut Butter Cup Ice Cream recipe is rich, creamy, and loaded with chunks of peanut butter cups for a dreamy texture and flavor. Best of all, it’s pure vegetarian and doesn’t require any eggs. Perfect for summer days or whenever you crave something sweet and satisfying, this recipe is sure to become a family favorite.
Prep Time, Active Time, and Total Time
- Prep Time: 15 minutes
- Active Time: 20 minutes
- Resting Time: 4 hours (chilling and freezing)
- Total Time: 4 hours 35 minutes
Cuisines and Course
- Cuisine: American
- Course: Dessert
Servings and Calories
- Servings: 6
- Calories per Serving: 320 kcal (approx.)
Equipment Needed
- Medium saucepan
- Whisk
- Mixing bowls
- Ice cream maker (optional but recommended)
- Freezer-safe container
Ingredients
For the Ice Cream Base:
- 2 cups whole milk
- 1 cup heavy cream
- ⅓ cup granulated sugar
- ¼ cup brown sugar
- ½ cup smooth peanut butter
- 1 tsp pure vanilla extract
- Pinch of salt
For Mix-ins:
- ¾ cup chopped peanut butter cups (store-bought or homemade)
Instructions
Step 1: Prepare the Ice Cream Base
- In a medium saucepan, combine the whole milk, heavy cream, granulated sugar, and brown sugar. Heat over medium heat, stirring occasionally, until the sugar dissolves completely. Avoid bringing it to a boil.
- Once the mixture is warm, whisk in the peanut butter and a pinch of salt. Continue whisking until the peanut butter is fully incorporated and the mixture is smooth.
- Remove the saucepan from heat and stir in the vanilla extract.
Step 2: Chill the Base
- Transfer the mixture to a bowl and let it cool to room temperature.
- Cover the bowl with plastic wrap and refrigerate for at least 2 hours or until thoroughly chilled.
Step 3: Churn the Ice Cream
- Pour the chilled mixture into your ice cream maker and churn according to the manufacturer’s instructions. This usually takes about 20 minutes.
- During the last 5 minutes of churning, add the chopped peanut butter cups to the mixture. Allow the ice cream maker to evenly distribute the mix-ins.
If you don’t have an ice cream maker, pour the chilled base into a freezer-safe container. Stir in the peanut butter cups and freeze. Stir every 30 minutes for about 3 hours to break up ice crystals and ensure a creamy texture.
Step 4: Freeze the Ice Cream
- Transfer the churned ice cream to a freezer-safe container.
- Cover tightly and freeze for at least 2 hours to firm up.
Step 5: Serve and Enjoy
- Scoop the ice cream into bowls or cones.
- Garnish with additional chopped peanut butter cups or a drizzle of melted chocolate, if desired.
- Serve immediately and enjoy the creamy, nutty goodness!
Nutrition Information (Per Serving)
- Calories: 320 kcal
- Protein: 7g
- Carbohydrates: 25g
- Fat: 22g
- Saturated Fat: 12g
- Cholesterol: 45mg
- Sodium: 150mg
- Sugar: 20g
Tips and Variations
- Make it vegan: Replace whole milk and heavy cream with full-fat coconut milk and use a vegan peanut butter cup brand.
- Add crunch: Mix in some crushed pretzels for a salty-sweet twist.
- Extra chocolatey: Swirl in melted chocolate or hot fudge before freezing for a marbled effect.
- Storage tip: Store the ice cream in an airtight container to prevent freezer burn. It’s best enjoyed within 1-2 weeks for optimal freshness.
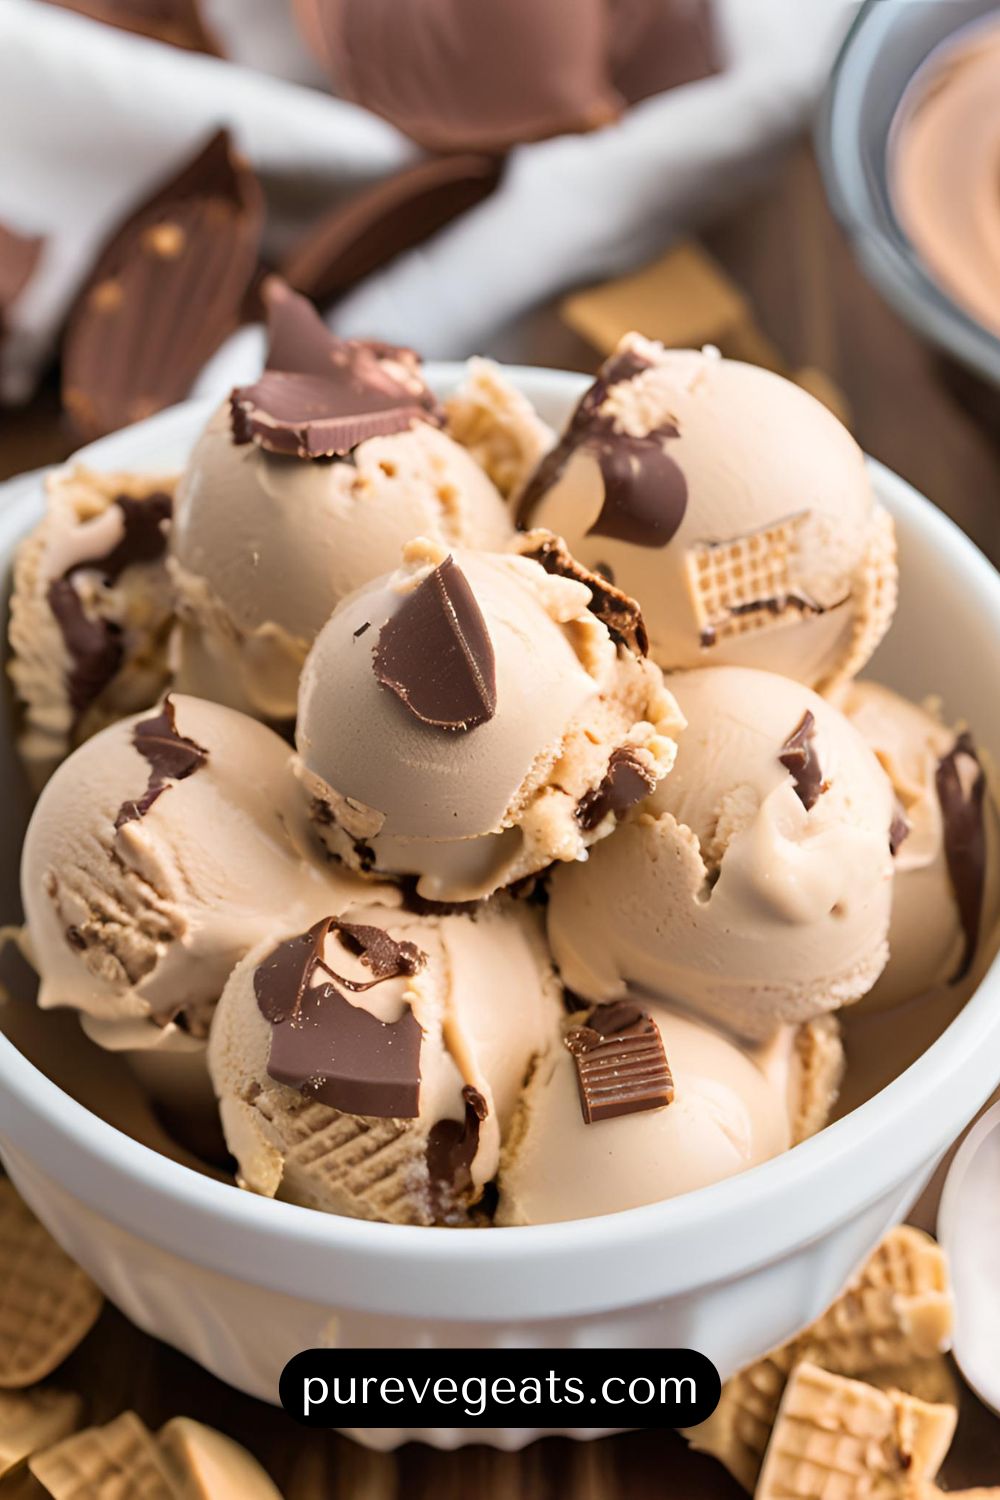
Why You’ll Love This Recipe
This Peanut Butter Cup Ice Cream combines the rich, nutty flavor of peanut butter with the delightful crunch of chocolate cups. It’s a perfect dessert for peanut butter enthusiasts and a great way to impress guests with a homemade treat. Whether served in cones, cups, or with a side of brownies, it’s bound to be a hit!
Enjoy making and sharing this delicious treat with loved ones, and relish every creamy, chocolatey bite.