
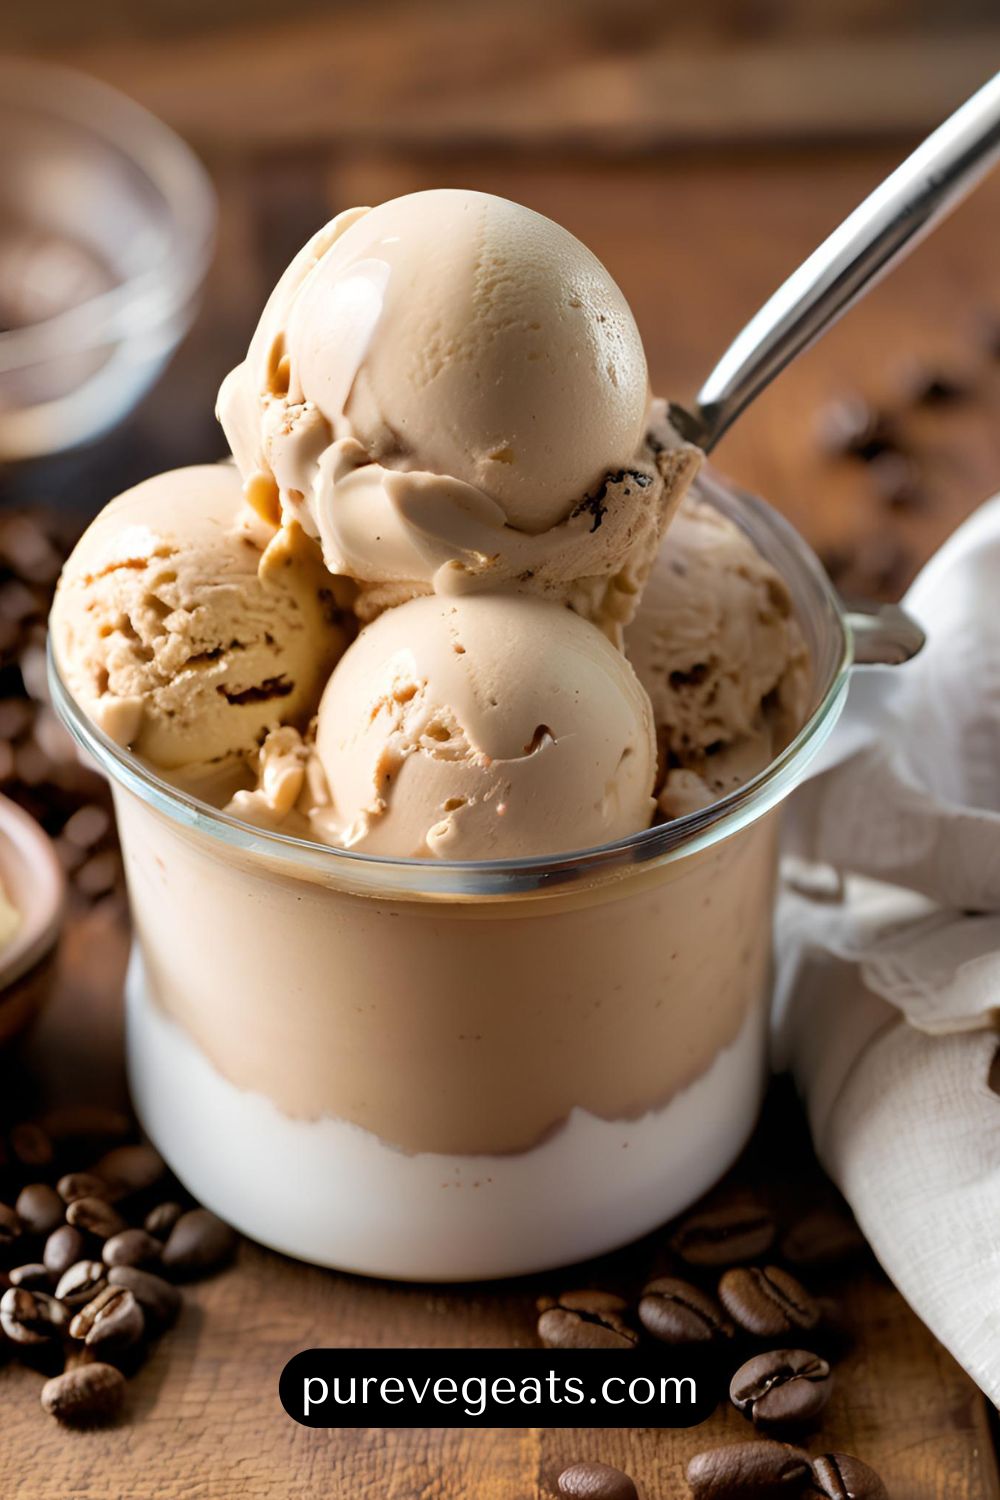
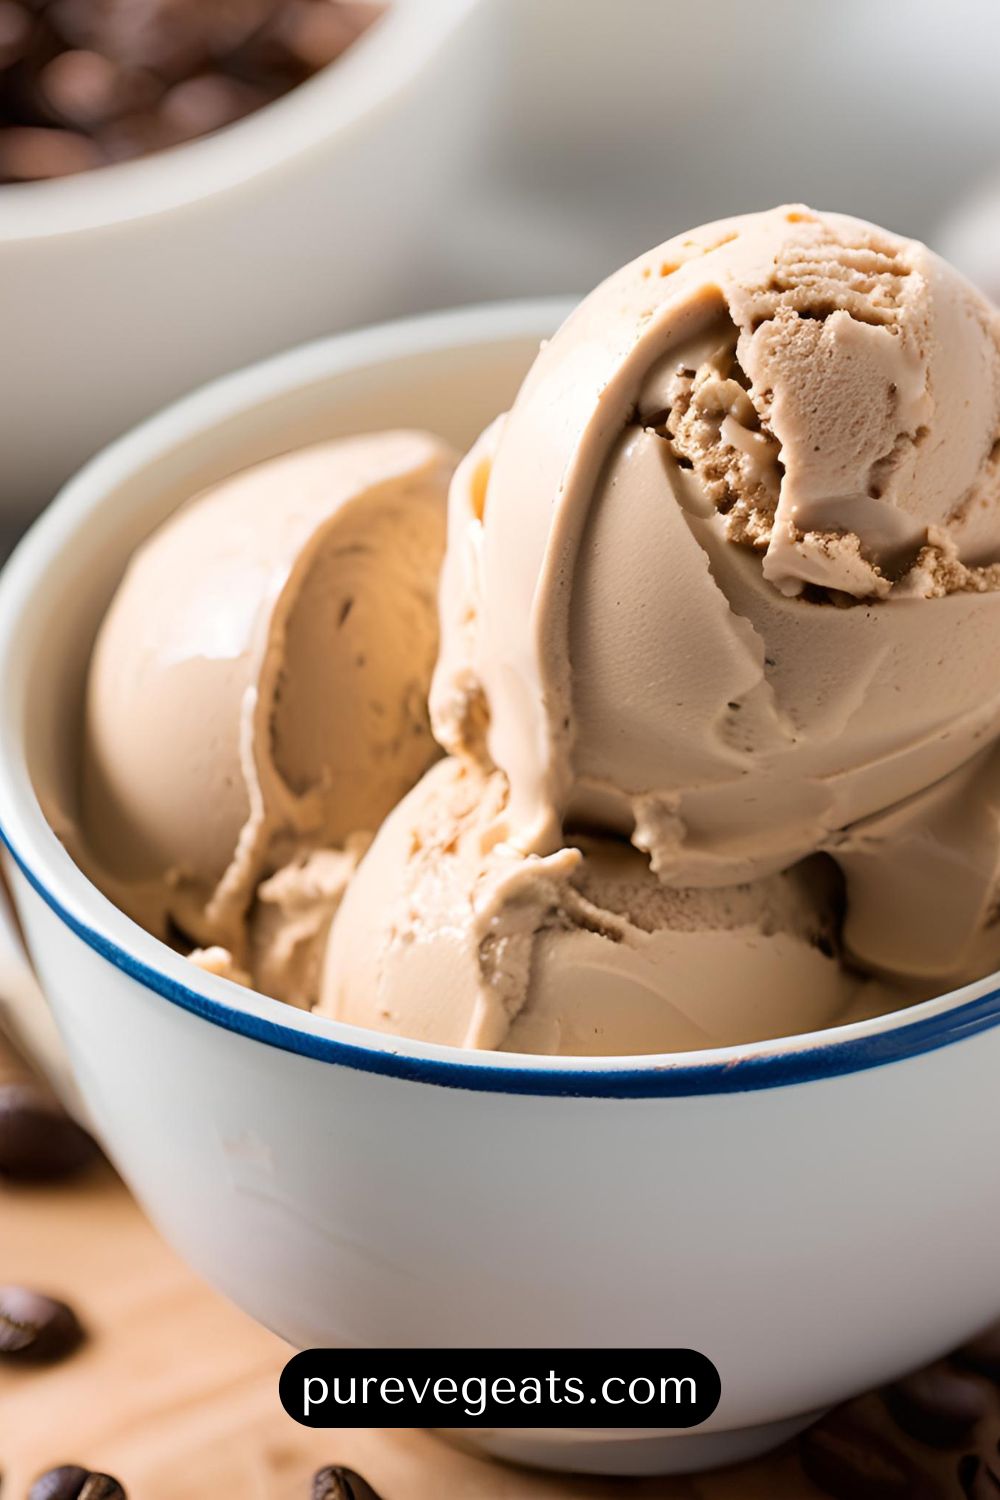
If you’re a coffee lover, there’s no better way to enjoy its rich and robust flavor than in a scoop of velvety coffee ice cream. This pure vegetarian recipe is eggless, making it suitable for those who prefer a simpler preparation without compromising on creaminess or taste. Perfect for summer afternoons or as a dessert after dinner, this homemade coffee ice cream is a treat that will delight your taste buds. The recipe uses easily accessible ingredients and requires no fancy equipment, ensuring anyone can make it at home. Let’s dive into the steps for crafting this delightful dessert!
Recipe Details:
- Cuisine: International
- Course: Dessert
- Servings: 6
- Calories: 250 kcal (per serving)
- Prep Time: 15 minutes
- Active Time: 10 minutes
- Resting/Chilling Time: 6 hours (minimum)
- Total Time: 6 hours 25 minutes
Equipment Needed:
- Medium saucepan
- Whisk
- Mixing bowls
- Fine mesh strainer
- Ice cream maker (optional, for quicker results)
- Freezer-safe container with lid
- Measuring cups and spoons
Ingredients:
- 2 cups whole milk
- 1 cup heavy cream
- 1/2 cup granulated sugar
- 2 tablespoons instant coffee powder (or 1/4 cup strong brewed coffee, cooled)
- 1 tablespoon cornstarch
- 1 teaspoon vanilla extract
- 1/4 teaspoon salt
Instructions:
- Prepare the Coffee Mixture:
- In a small bowl, dissolve the instant coffee powder in 2 tablespoons of hot water. If using brewed coffee, ensure it’s cooled to room temperature. Set aside.
- Create the Base:
- In a medium saucepan, combine whole milk, heavy cream, and granulated sugar. Heat over medium heat, stirring occasionally, until the sugar dissolves and the mixture is warm (but not boiling).
- Thicken the Mixture:
- In a separate bowl, mix the cornstarch with 2 tablespoons of water to create a slurry. Slowly whisk this slurry into the warm milk and cream mixture. Continue heating until the mixture thickens slightly, about 5-7 minutes. Do not let it boil.
- Incorporate the Coffee Flavor:
- Remove the saucepan from heat and stir in the dissolved coffee, vanilla extract, and salt. Mix well to ensure the flavors are evenly distributed.
- Strain for Smoothness:
- Pour the mixture through a fine mesh strainer into a clean bowl. This step ensures your ice cream base is silky smooth without any lumps.
- Cool the Base:
- Allow the ice cream base to cool to room temperature. Once cooled, cover the bowl with plastic wrap, ensuring it touches the surface of the mixture to prevent a skin from forming. Refrigerate for at least 4 hours or overnight.
- Churn the Ice Cream:
- If using an ice cream maker, pour the chilled mixture into the machine and churn according to the manufacturer’s instructions (usually 20-30 minutes). Transfer to a freezer-safe container, cover, and freeze for an additional 2 hours for a firmer texture.
- If not using an ice cream maker, pour the mixture into a freezer-safe container and place it in the freezer. Stir the mixture every 30 minutes for the first 2-3 hours to break up ice crystals and ensure a creamy consistency.
- Serve and Enjoy:
- Scoop the ice cream into bowls or cones and enjoy it as is, or garnish with chocolate shavings, caramel drizzle, or a sprinkle of cocoa powder for extra indulgence.
Nutrition Information (per serving):
- Calories: 250 kcal
- Carbohydrates: 25 g
- Protein: 4 g
- Fat: 15 g
- Saturated Fat: 9 g
- Cholesterol: 50 mg
- Sodium: 100 mg
- Potassium: 150 mg
- Sugar: 22 g
Tips for the Perfect Coffee Ice Cream:
- Adjust Coffee Intensity: For a stronger coffee flavor, increase the amount of instant coffee or use espresso powder.
- Sweetness Levels: You can adjust the sugar quantity to your taste preference. However, keep in mind that freezing dulls sweetness slightly.
- Dairy Alternatives: Substitute whole milk and heavy cream with plant-based options like almond milk and coconut cream for a vegan version.
- Add Texture: For added crunch, mix in chopped nuts, chocolate chips, or toffee bits during the last few minutes of churning.
- Storage: Store the ice cream in an airtight container in the freezer for up to 2 weeks. Place a piece of parchment paper directly on the surface to prevent ice crystals from forming.
Conclusion:
Making coffee ice cream recipe at home is an enjoyable and rewarding experience that allows you to control the ingredients and customize the flavor to your liking. This eggless recipe ensures a creamy texture and authentic coffee taste without any complicated steps. Whether you’re hosting a dinner party or indulging in a quiet moment of dessert bliss, this coffee ice cream is sure to impress. Try it today and savor the delightful harmony of creaminess and caffeine in every bite!