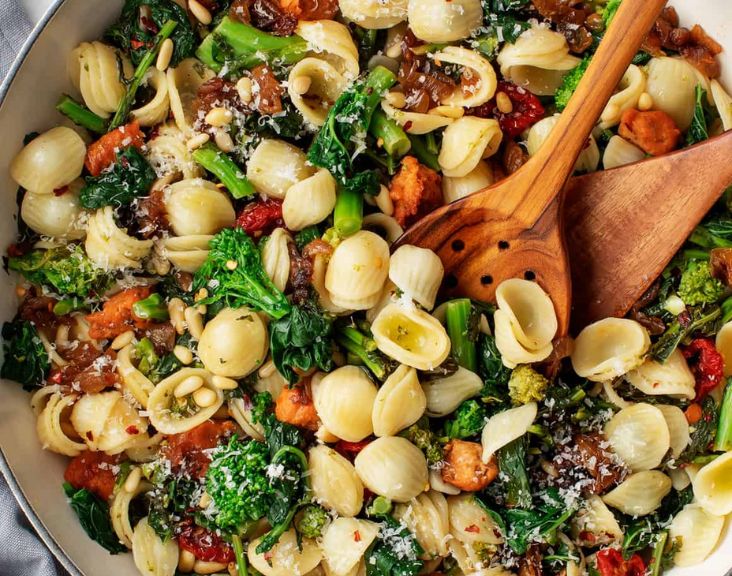
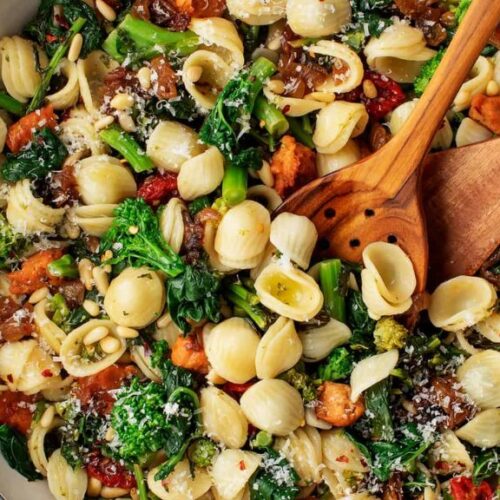
Orecchiette with Broccoli recipe is a classic Italian dish that combines the unique, ear-shaped pasta known as “orecchiette” with tender, flavorful broccoli. This recipe is a perfect weeknight dinner option—simple, quick, and incredibly delicious. The broccoli is cooked until it’s soft enough to meld with the pasta, creating a silky sauce that coats each piece of orecchiette beautifully.


Orecchiette With Broccoli Recipe
Equipment
- 1 Large pot
- 1 Skillet or frying pan
- 1 Colander
- 1 Garlic press (optional)
- 1 Wooden spoon or spatula
- 1 Cheese grater (optional)
Ingredients
- 12 oz orecchiette pasta
- 1 large head of broccoli, cut into small florets
- 3 tablespoons olive oil
- 4 cloves garlic, minced
- ½ teaspoon red pepper flakes (optional)
- Zest of 1 lemon
- Juice of 1/2 lemon
- ¼ cup grated Parmesan cheese (optional for non-vegans)
- Salt and pepper to taste
- Fresh basil or parsley, chopped (for garnish)
Instructions
- Cook the Orecchiette:Bring a large pot of salted water to a boil. Add the orecchiette pasta and cook according to the package instructions until al dente.About 5 minutes before the pasta is done, add the broccoli florets to the boiling water with the pasta.Once both the pasta and broccoli are cooked, reserve 1 cup of pasta cooking water and then drain the rest using a colander.
- Prepare the Sauce:While the pasta is cooking, heat the olive oil in a large skillet over medium heat.Add the minced garlic and red pepper flakes (if using), and sauté for about 1-2 minutes until fragrant and lightly golden, but not burnt.
- Combine Ingredients:Add the drained pasta and broccoli to the skillet with the garlic oil. Toss everything together, making sure the pasta and broccoli are well-coated.Add the lemon zest, lemon juice, and a splash of the reserved pasta water. Stir well to combine, adding more pasta water as needed to achieve a silky, smooth consistency.Season with salt and pepper to taste.
- Serve:If using, sprinkle the grated Parmesan cheese over the top and mix until melted and evenly distributed.Serve the orecchiette in bowls, garnished with fresh basil or parsley.
- Enjoy:This dish is best enjoyed fresh but can be stored in an airtight container in the refrigerator for up to 3 days.
Notes
Notes:
- For a vegan version, omit the Parmesan cheese or substitute it with a vegan alternative.
- You can also add other vegetables like cherry tomatoes or roasted red peppers for extra flavor and color.
A hint of garlic, a sprinkle of chili flakes, and a generous drizzle of olive oil elevate this humble dish into a comforting yet sophisticated meal. Whether you’re a seasoned cook or a beginner, this recipe is easy to follow and will surely become a favorite in your household.
More Vegetarian Recipes:
- Keep it Green Sandwich Recipe
- Rhubarb Custard Fluffy Pancakes Recipe
- Veggie Noodle Pot Recipe
- Vegan Squash Stew Recipe
Ingredients
- 12 oz (340g) orecchiette pasta
- 1 large head of broccoli, cut into florets
- 3 cloves garlic, thinly sliced
- 1/4 teaspoon red pepper flakes (optional)
- 1/4 cup extra virgin olive oil
- 1/4 cup grated Parmesan cheese (optional for a vegan version)
- Salt and pepper to taste
- Zest of 1 lemon
- Juice of 1/2 lemon
- Freshly chopped parsley for garnish (optional)
Instructions
- Cook the Pasta:
- Bring a large pot of salted water to a boil. Add the orecchiette and cook according to the package instructions until al dente. Reserve 1 cup of pasta water before draining the pasta.
- Prepare the Broccoli:
- While the pasta is cooking, bring a medium pot of water to a boil. Add the broccoli florets and cook for about 3-4 minutes until tender but still vibrant green. Drain and set aside.
- Sauté the Garlic:
- In a large skillet, heat the olive oil over medium heat. Add the garlic and red pepper flakes (if using) and sauté until the garlic is fragrant and slightly golden, about 2 minutes. Be careful not to burn the garlic.
- Combine Pasta and Broccoli:
- Add the cooked broccoli to the skillet with the garlic. Sauté for 2-3 minutes, gently mashing some of the broccoli with the back of a spoon to create a rough sauce.
- Toss the Pasta:
- Add the cooked orecchiette to the skillet and toss to combine. Gradually add the reserved pasta water, a little at a time, until the sauce reaches your desired consistency. The pasta water helps to create a silky sauce that clings to the orecchiette.
- Finish the Dish:
- Stir in the lemon zest, lemon juice, and Parmesan cheese (if using). Season with salt and pepper to taste. Toss everything together until well combined and heated through.
- Serve:
- Transfer the orecchiette with broccoli to serving plates. Garnish with freshly chopped parsley and an extra sprinkle of Parmesan cheese if desired. Serve hot and enjoy!
Tips for Success
- Broccoli Cooking Tip: For a more intense broccoli flavor, you can steam the broccoli instead of boiling it. This method helps to retain more of the vegetable’s nutrients and flavor.
- Vegan Option: To make this recipe vegan, simply omit the Parmesan cheese or replace it with a vegan alternative.
- Add Protein: If you’d like to add some protein, grilled chicken or chickpeas would be great additions to this dish.
Conclusion
Orecchiette with Broccoli is a versatile dish that can be enjoyed as a light main course or a hearty side. The combination of pasta and broccoli, enhanced by the flavors of garlic and lemon, offers a delightful balance of textures and tastes. It’s a go-to recipe for those looking to whip up something delicious in under 30 minutes. Perfect for busy weeknights, this dish is sure to impress with its simplicity and flavor.
